If you just opened your first pack of Frownies and you're staring at them wondering where exactly am I supposed to put these, you're in the right place.
Honestly, almost everyone has a tiny learning curve with Frownies at first. Not because they’re hard… but because they work a little differently than most skincare products people are used to.
There are a few insider tips that make a huge difference:
how wet the patches should be, how many you actually need, why placement matters, and why the “full forehead cast” method tends to work so much better than using one lonely patch in the middle of your forehead.
Once it clicks, it clicks.
This is the application guide we wish every new customer got handed at the door. We’re walking through exactly how to apply Frownies Facial Patches, where to place them, how to do the full forehead cast method, and the small details that make the difference between “I don’t think I’m doing this right” and “OH. Okay. Now I get the hype.”
What Are Frownies Facial Patches?
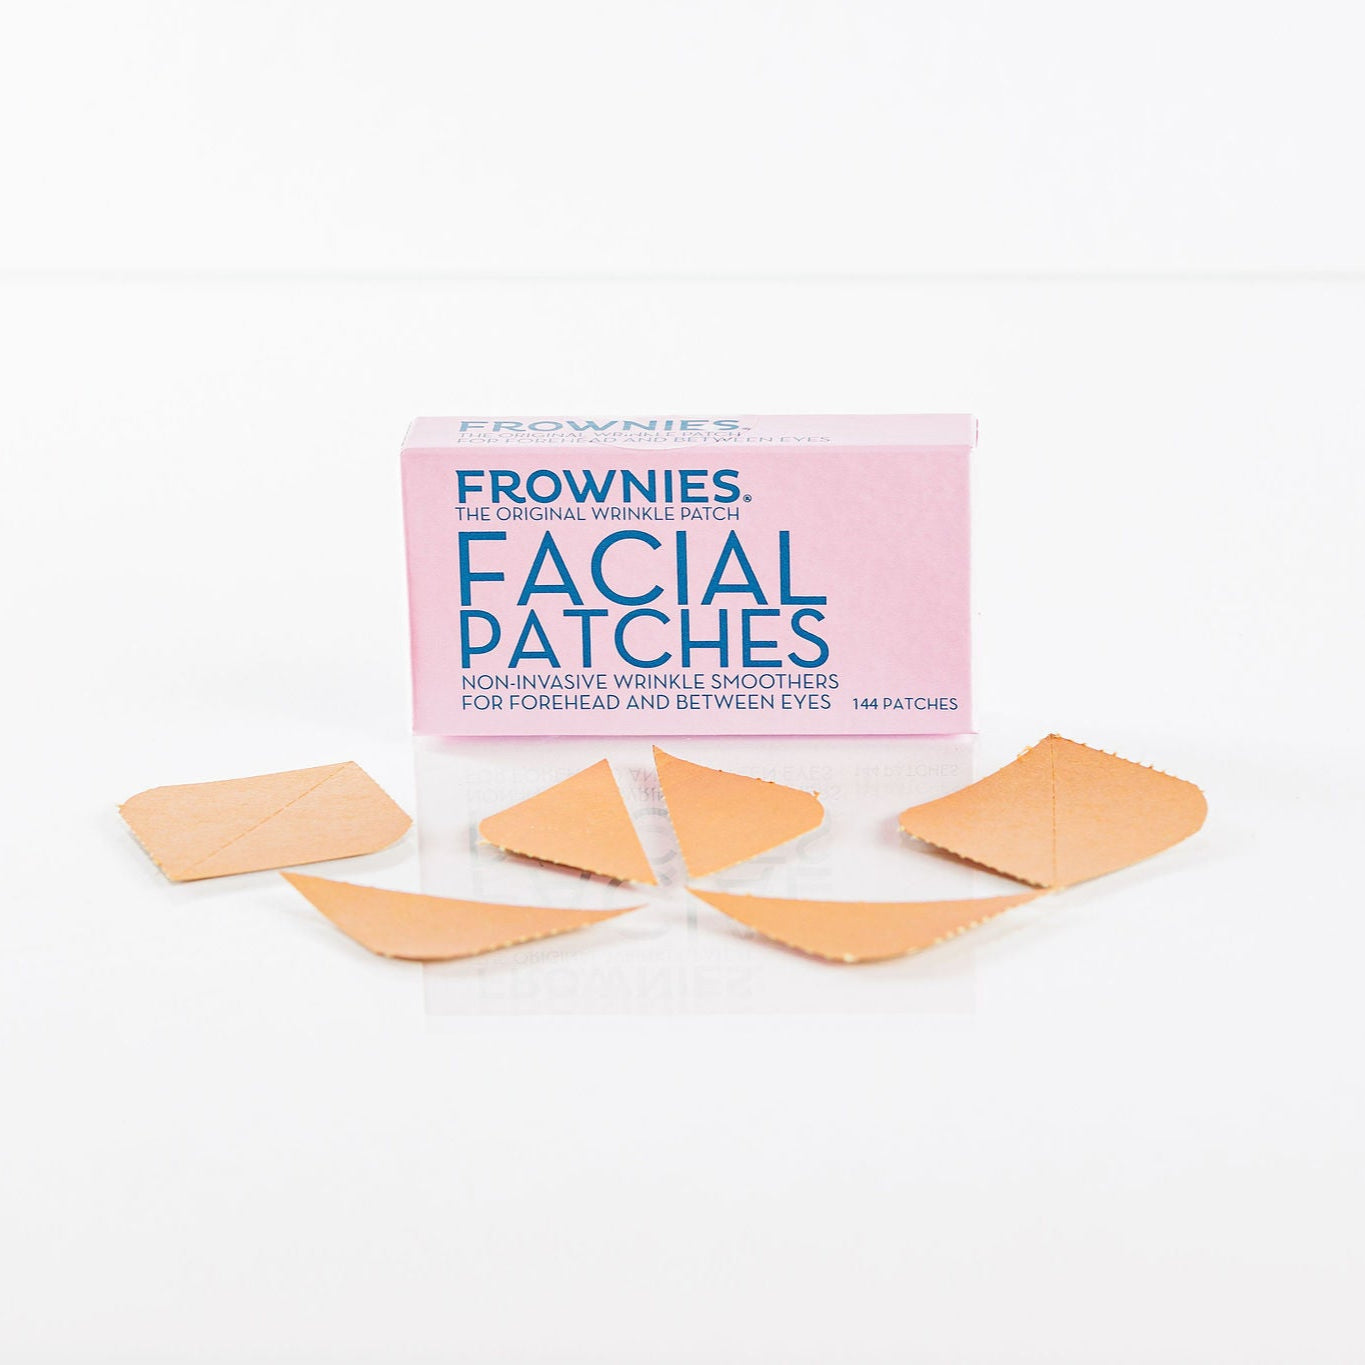
Frownies Facial Patches are weighted kraft paper patches with a plant-based, water-activated adhesive on one side. You moisten the shiny side, place the patch over an expression line, and the patch helps hold the skin smooth while you wear it.
That’s really the concept.
And once you do it a couple of times, the application process starts to feel surprisingly simple and intuitive.
A few small tips can definitely help the patches stay on better and feel more comfortable overnight, but don’t overthink it. Clean skin, thoughtful placement, and consistency go a long way.
What You’ll Need
Before you apply, all you really need is:
-
A box of Frownies Facial Patches
-
Clean, dry skin
-
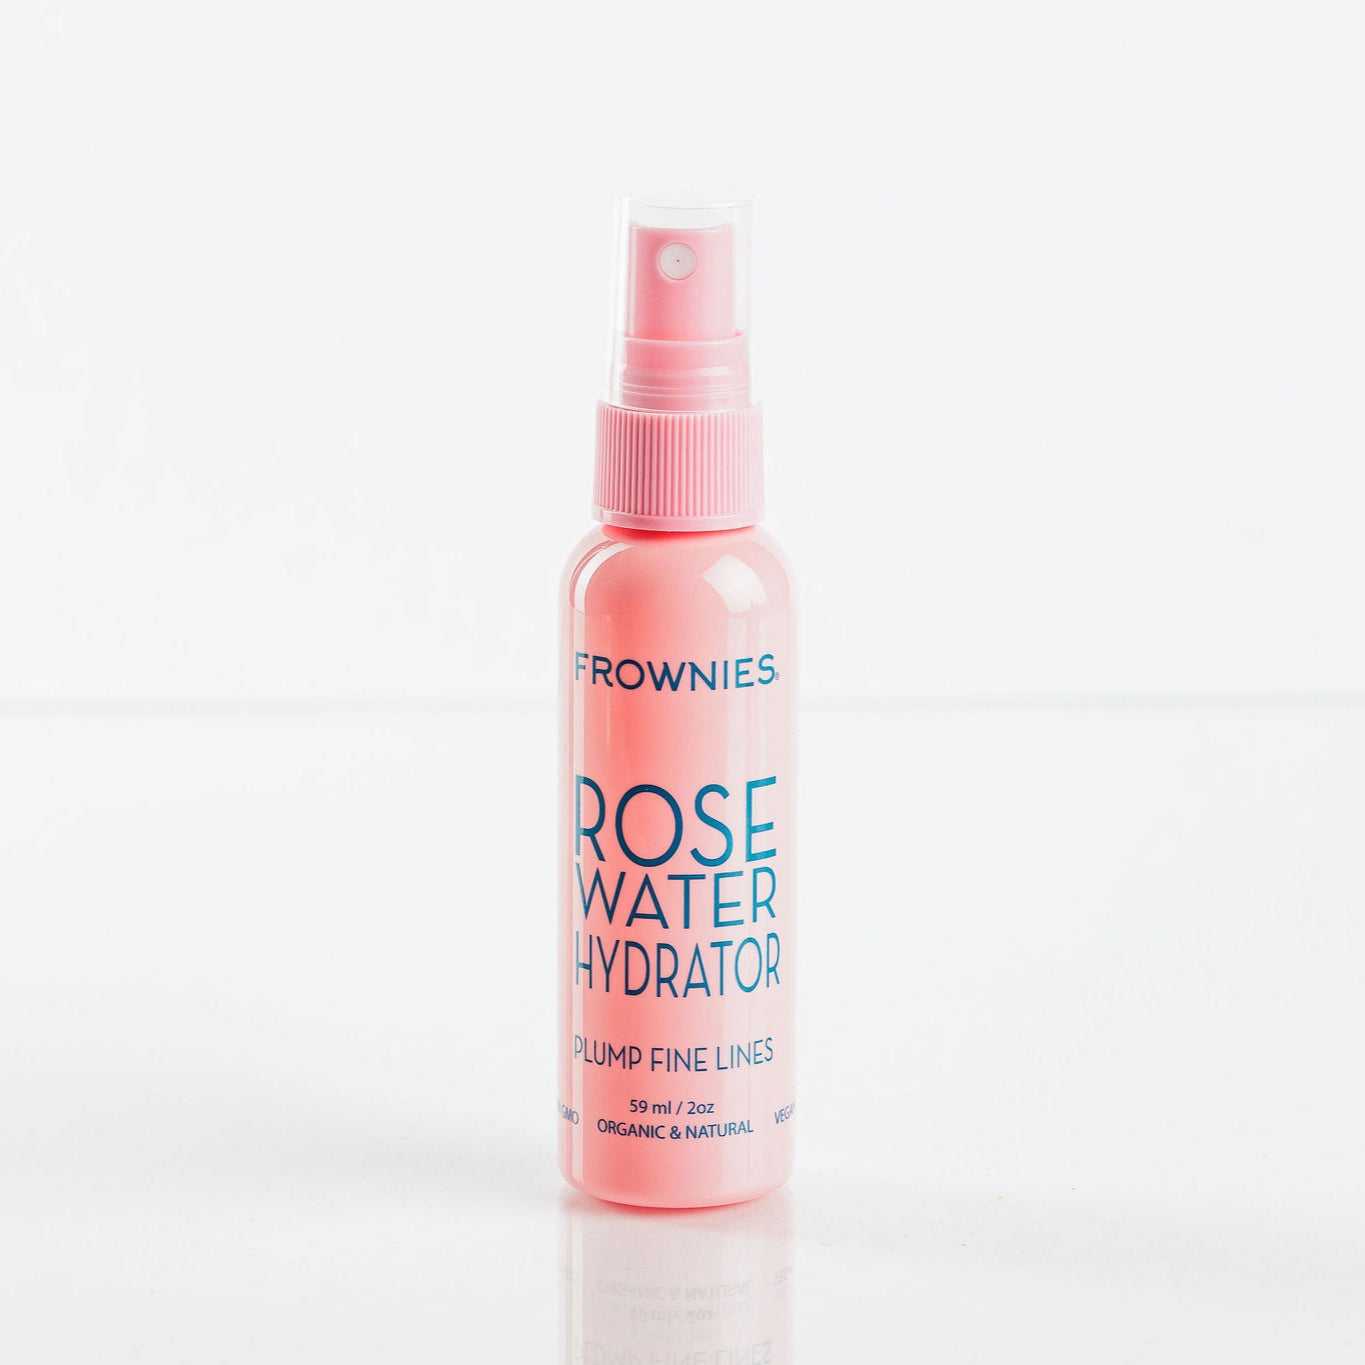
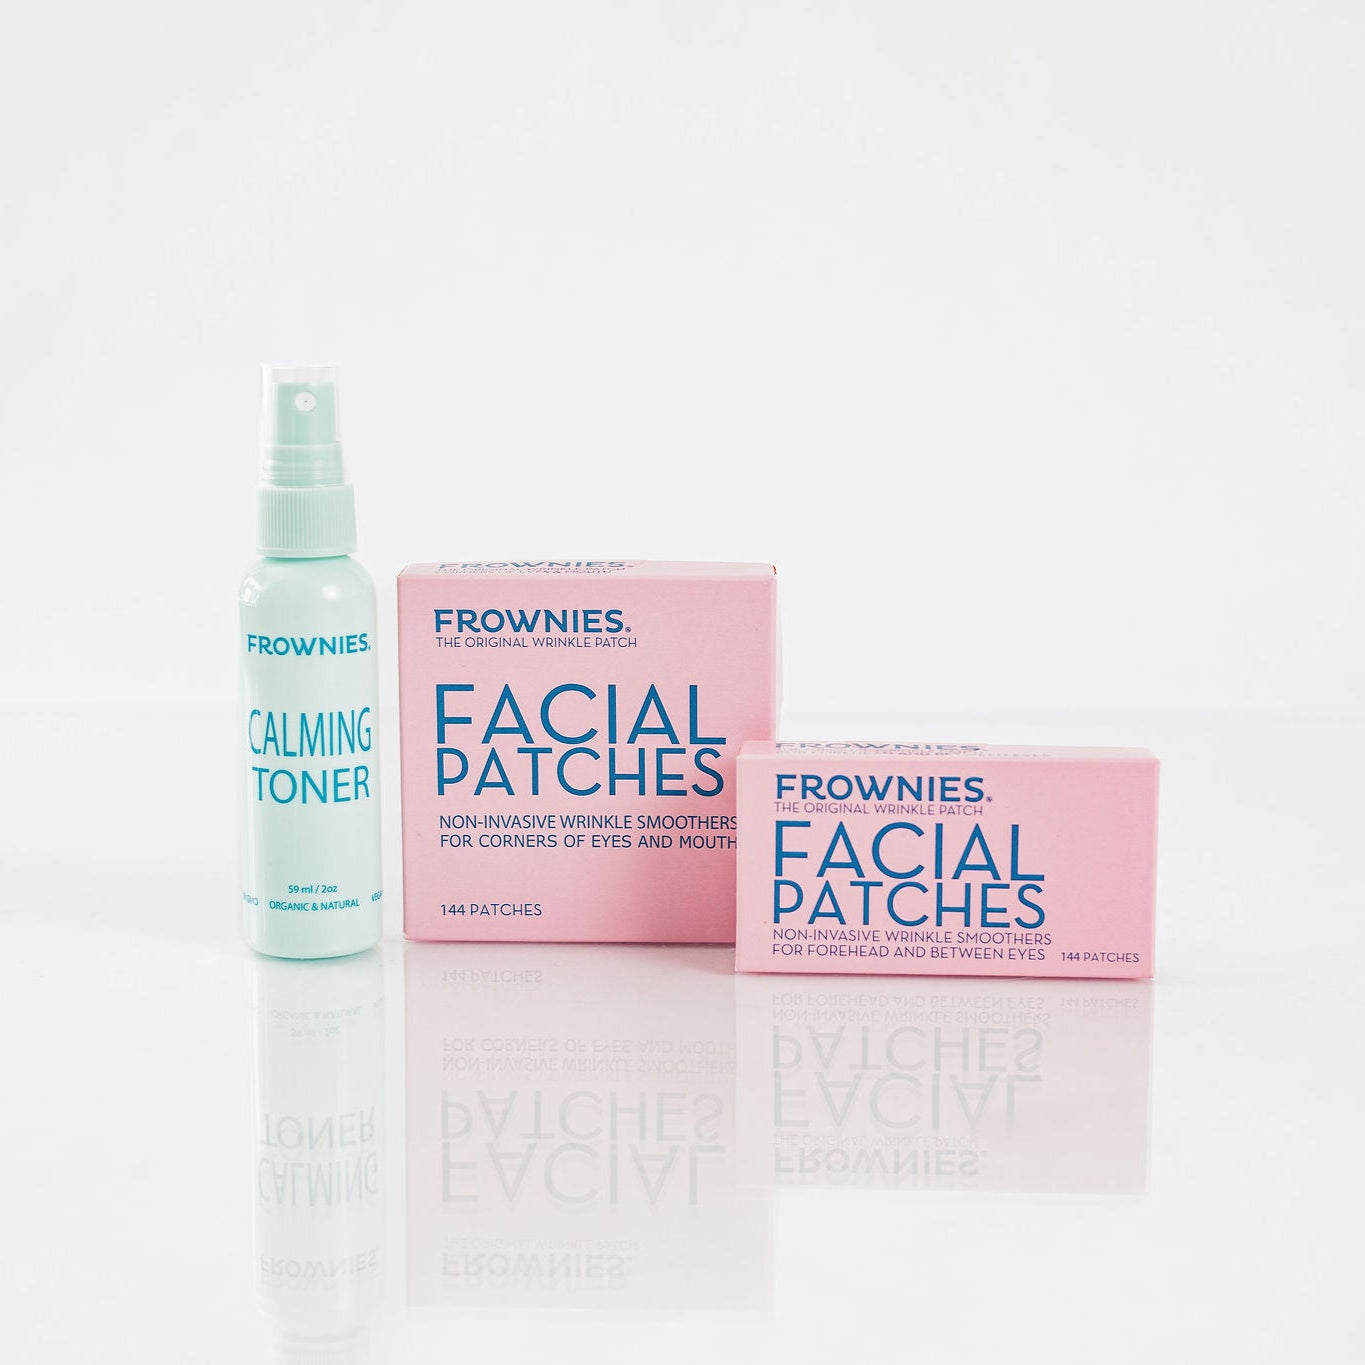
A few sprtizes of drops Rose Water Hydrator or Calming Toner
-
About five minutes
That’s it. No gadgets. No complicated routine. No perfect technique.
How to Apply Frownies Facial Patches: Step by Step
The process is actually pretty simple once you’ve done it once or twice.
-
Prep Your Frownies
Separate the Frownies and lightly moisten the shiny side with Rose Water Hydrator, Calming Toner, or warm water. Let them sit until they become tacky.
-
Smooth and Stick
Gently smooth the skin with one hand while pressing the patch onto clean, dry skin with the other. Slightly overlap the patches to create support across the full area.
-
Wear Overnight
Leave the patches on for at least 3 hours or overnight while you sleep.
-
Remove and Repeat
In the morning, dampen the patches with warm water to soften the adhesive, then gently remove. Use nightly for best results, then as needed for maintenance.
Now let’s walk through a few insider tips that make the application process even easier.
Insider Tips For Better Application
Once you get the hang of it, Frownies are really simple to use. And here are a few application tips longtime users swear by for a better hold, smoother application, and the best overnight support.
Start by relaxing the area
Before applying your patches, gently massage or relax the area where you’ll be placing them. The goal isn’t to pull or stretch the skin. You’re simply helping soften the appearance of the expression line so you can apply the patch over a smoother surface.
Let skincare absorb first
Frownies usually adhere best on clean, dry skin. Heavy oils, thick moisturizers, and rich serums can make the patches harder to keep in place overnight.
If you use skincare before bed, let it fully absorb first and keep the patch area as product-free as possible before applying your Frownies.
Our skincare line was specifically developed to work seamlessly with the Frownies Facial Patches, so the products layer easily into your nighttime routine without making application complicated.
Use less water than you think
One or two spritzes of Rose Water Hydrator, Calming Toner, or a small amount of warm water is usually enough to activate the adhesive.
You can use your fingertip to help spread the moisture all the way to the edges of the patch. The shiny side should feel lightly damp, not soaking wet.
Let the adhesive activate
After moistening the patch, set it aside for a few seconds while the adhesive activates. Some patches may begin to curl slightly as they become tacky.
A good rule of thumb: if the patch lightly sticks to your fingertip, it’s usually ready to apply.
Smooth the skin before you apply
Before pressing the patch into place, use one hand to gently smooth and separate the expression line so you’re applying the patch onto a smoother surface rather than directly into a crease.
Overlap and anchor the patches
If you’re patching a larger area like the forehead, crow’s feet, or smile lines, think support, not spot treatment.
Slightly overlapping the patches and extending a little beyond the expression line helps create more continuous support across the area and usually gives a better hold overall.
Hold the patches in place while they set
Once the patch is in place, press and hold it for a few seconds so it can begin molding comfortably to the skin. Then give the patches a minute or two to fully set before heading to bed.
Where to Apply Frownies
When it comes to placement, think coverage and support, not just one patch between your brows.
The goal is usually to cover the full expression line and anchor the patches onto the surrounding areas of the face so they have a more secure hold. That’s why most people use several patches rather than just one, especially in larger areas.
And don’t stress about making your placement look exactly the same every night. Frownies are meant to be layered and overlapped to fit your face. Over time, a lot of people naturally develop their own favorite pattern, but in the beginning, it’s more about covering the area well than following a perfect patch map.
Horizontal Forehead Lines
Apply patches across the areas where horizontal lines show up, overlapping from browline to hairline and temple to temple to create continuous coverage across the forehead. Instead of treating one line in isolation, think about supporting the broader area where that expression tends to show up.
This broader coverage approach is what longtime users usually refer to as The Full Forehead Cast. We’ll walk through that more in the next section.
11 Lines
Place patches over the area between the brows, then build outward enough to support the surrounding area too. You do not need to patch only the deepest part of the line. Think a little bigger than the line itself.
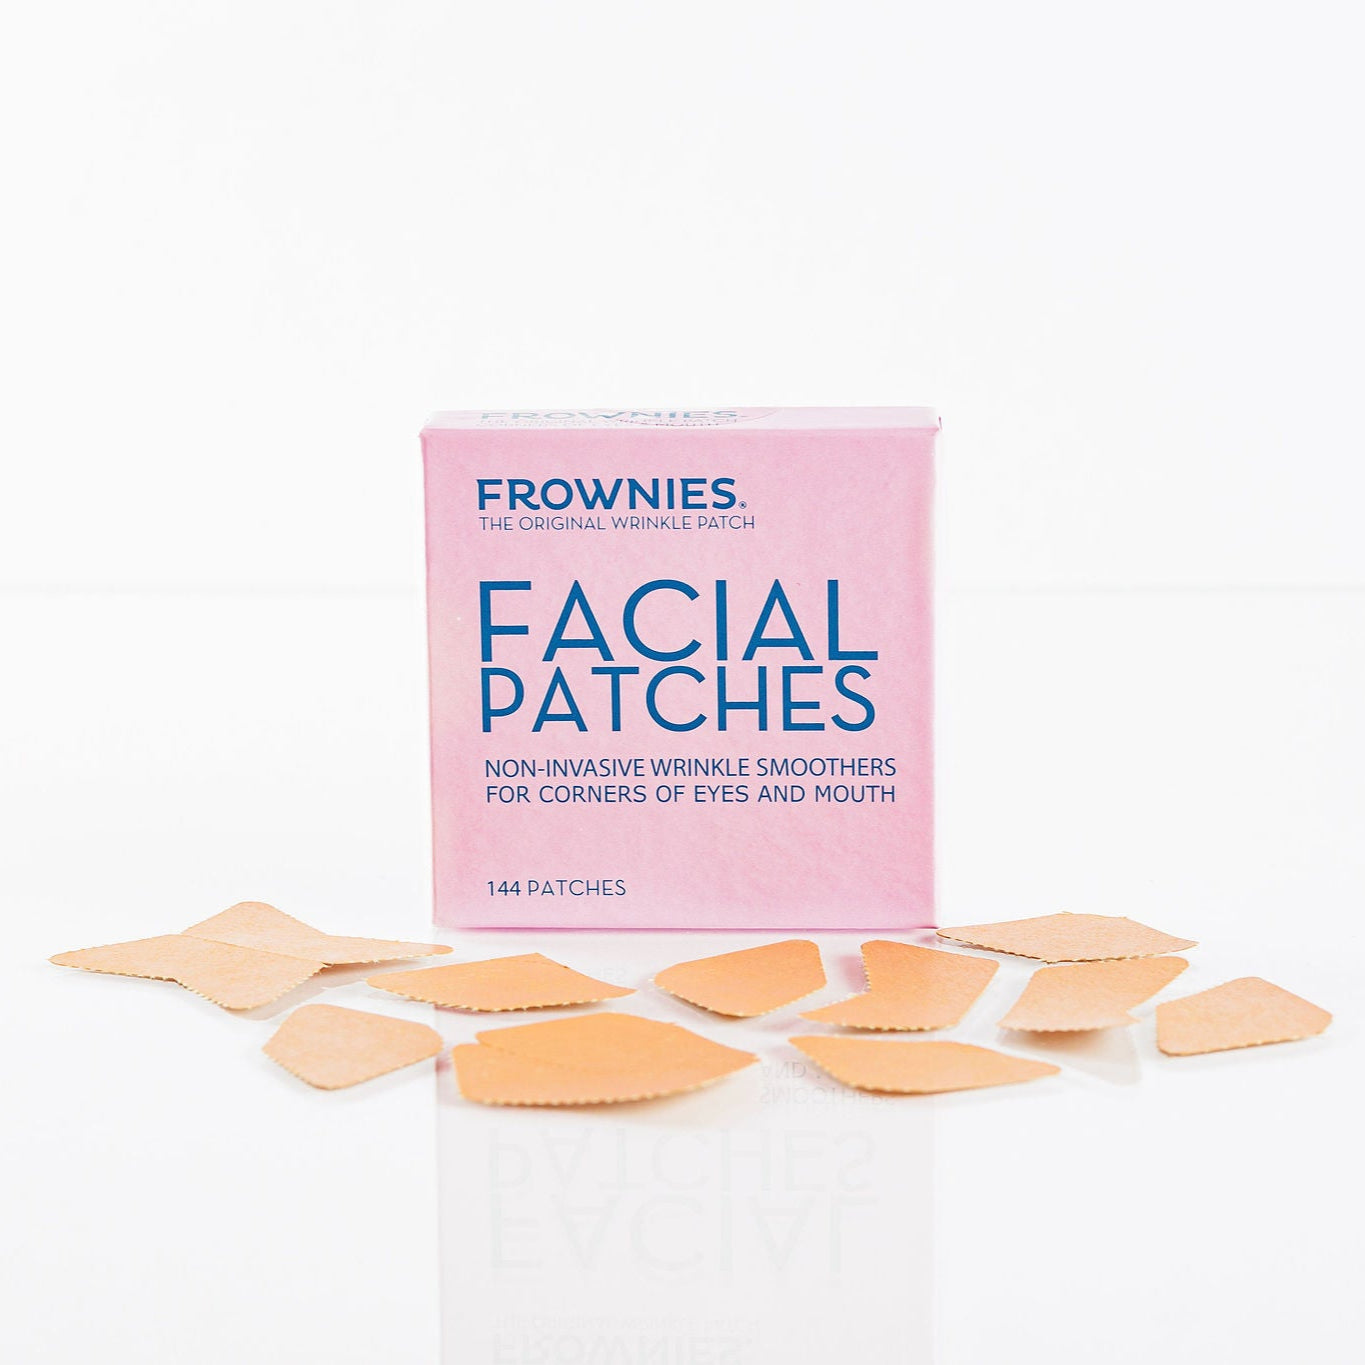
Crow’s Feet
Place patches at the outer corners of the eyes, angled slightly toward the temple. Most people use two to three patches per side, depending on the area they want to cover. Stay on the outer eye area and avoid placing patches in the delicate under-eye area.
Lip Lines
For smaller areas around the mouth, you can cut patches to get a better fit. Some people also prefer to use Gentle Lifts here, since they’re designed for smaller, more targeted areas. The goal is still the same: cover the line and anchor onto the surrounding skin rather than placing one tiny patch only in the center.
Smile Lines and Nasolabial Folds
For smile lines or nasolabial folds, place the patches along the line and extend outward onto the cheek or cheekbone area so the patches have a better anchor point. Most people use several patches here, often around three to five depending on face shape and the amount of coverage they want.
The Full Forehead Cast Method
If you’re using Frownies on your forehead, one of the most helpful ways to apply them is what we call The Full Forehead Cast.
Instead of placing one small patch only on the deepest line, this method uses overlapping patches to support the fuller area where forehead lines tend to show up.
Think of it a little like a cast: the support usually works best when it covers the broader area, not just one tiny spot in the middle.
Why does that matter?
Because Frownies usually work better when you think in terms of coverage, not just one exact spot. Supporting more of the forehead can help the patches stay in place better and create a smoother, more secure hold across the area.
In other words, don’t think one lonely patch in the middle of your forehead. Think broader support.
For most people, that means building your application across the forehead from the browline to hairline, and extending across the forehead from temple to temple.
Once you try it this way, you’ll see the difference!
How to Remove Frownies
When you’re ready to remove your Frownies, saturate the patches with warm water using a cupping technique, a wet washcloth, or in the shower. Use a wet finger to gently work under the corner of the Frownie and ease the patch away from the skin.
Some people even like to leave their Frownies on for a morning workout and let sweat and body heat loosen the adhesive before removing them.
One important tip: we don’t recommend peeling Frownies off dry; it can be too harsh on the skin.
And yes... if you wake up and your forehead cast feels weirdly secure, you definitely nailed last night’s application!
More Frownies Tips and FAQs
-
Why Aren’t My Frownies Sticking?
-
How Frownies Work